How To Tighten A Loose Moen Single Handle Kitchen Faucet And Base

A modern kitchen isn’t complete without a working faucet. From washing the dishes to rinsing vegetables, you’ll find yourself reaching for the faucet way too often. Owing to such overwhelming usage, kitchen faucet handles may tend to get loose. There are ways in which you can fix these faucet handles on your own without depending upon the professional. But today we are going to discuss how to fix meon brand’s kitchen faucet. Meon faucets, although sleek and robust in design, can sometimes require a little maintenance.
Of the many options that you can find with Moen faucets, one of the most prominent ones is the Moen single handle kitchen faucet. Although highly attested for flawless performance and durability, the faucet handle and base can get loose causing leaks. This can be attributed to the frequent and repetitive usage they’re put through. Despite being touted as one of the best faucet brands in the USA, firmly fixed moen faucets can still become loose here and there. If you’re faced with a loose moen single handle kitchen faucet and are looking to DIY your way out of it, this guide is all you need.
Tools Required To Tighten A Loose Kitchen Faucet Handle
Tightening the handle and base on a Moen faucet needs the use of a few tools. For your convenience, we’ve put together a list of the tools required:
- Adjustable wrench
- Allen wrench
- Screwdriver and Pliers
- Basin wrench
- Mini knife
- Flashlight
Now that you have assembled these items, you can learn how to tighten a loose Moen single handle kitchen faucet.
How To Tighten A Loose Moen Single Handle Kitchen Faucet
A loose handle could be the source of the water leak. To tighten a Moen kitchen faucet loose handle, follow the procedure below.
1. Turn Off The Water Supply Lines
Turn off the water supply. We turn off the water, as we do with any plumbing repair. You must first clean the top of your sink area before tightening the handle on your Moen kitchen faucet so that it doesn’t make a mess of your work.
Turn off both the hot and cold water valves. To do so, use the adjustable wrench.
2. Check Your Moen Kitchen Faucet Handle
Every Moen kitchen faucet has its own configuration, and you’ll have to work depending on how it’s set up.
A hex nut or a plastic cap may be attached at the end of your faucet. If you can’t find the screw, look closely, as it could have a faucet handle with a cap on top instead. After you find the cap, you may move to the next step.
3. Remove The Plastic Cap
You must remove the small-cap mentioned above after locating it. It’s small and not always easy to reach, depending on whether it’s located just below or above the faucet handle.
With the mini knife, you can pry it off. Set it aside in a secure place or you might lose it.
4. Remove The Handle And Collar
Remove the cap and insert the Allen wrench into the opening until it feels sturdy against the hex nut inside the gear cover. Give it a couple of counterclockwise turns. You don’t need to turn it any further than that, just enough to loosen the handle and remove it.
You must now remove the collar that is covering the valve on the inside. Simply turn the collar counterclockwise with the wrench, and it should easily come out.
5. Tighten The Ring To Tighten The Faucet Handle
Finally, after removing the cap, you will notice a valve is held tight by a ring. To tighten the screw in this step, rotate the wrench clockwise. You can try to tighten it in a clockwise direction with a knife, pry tool, or whatever fits in it at times. The ring secures the faucet valve. The handle should be just tight enough after a few clockwise turns—excessive tightening cap causes it to become too tight.
To make the faucet work properly again, reconnect parts such as the water supply valves. That’s how you solve this problem. The following video illustrates the above steps in easy steps –
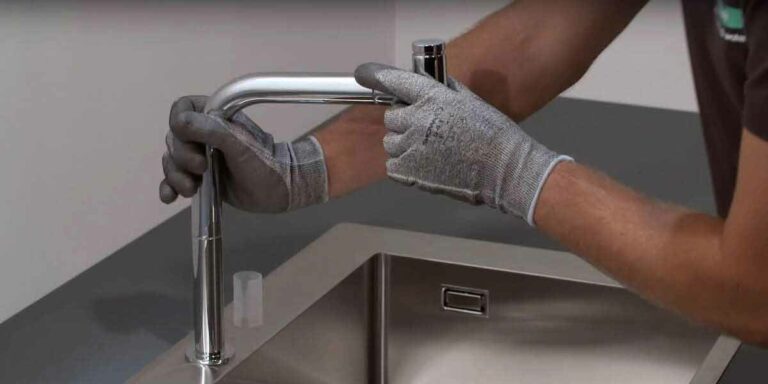
How To Tighten A Loose Moen Kitchen Faucet Base
You’ve figured out how to tighten the single handle Moen kitchen faucet, and now it’s time to tighten the base. How to tighten a loose moen kitchen faucet base? The loose base’s free movement can cause a rupture in the valve’s water supply lines, resulting in leakage. Tightening the base will greatly reduce the annoyance caused by a loose kitchen faucet.
Here are the steps to guide you how to tightena loose moen kitchen faucet base:
1. Plug The Drain
Remove any objects in the sink cabinet to ensure that no small screws or faucet parts drain from there. It is critical because if any vital screws are lost, you will have an additional problem.
2. Turn Off The Water Supply Valves
Locate the water supply valves for your kitchen faucet. On a Moen kitchen faucet, there are typically two types of water supply valves: The cold water valve and the hot water valve
You will see the valves at the back of your Moen kitchen faucet.
It may be difficult to reach if there is no proper lighting. For this, you can use a flashlight.
After you have removed the water supply valves from the faucet, turn off both valves by rotating them several times in an anticlockwise direction.
Remember that the valves must be perfectly closed. Or else, while working, water may be dripping on you. Turn the faucet handle back on and double-check that the water supply is properly turned off.
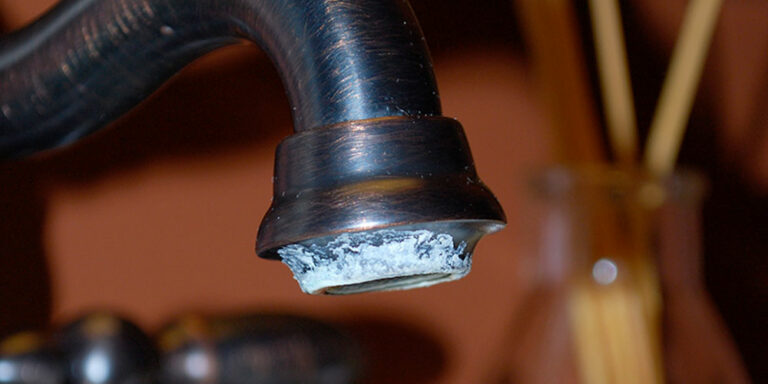
3. Clean The Mounting Nuts
If there are any orange streaks or crumbly bits of rust on the mounting nut, scrub them away with a wire brush and wipe the area dry. If it doesn’t work with a brush or water, apply oil or lube and let it soak. After a few minutes, you can wipe it off from the surface.
4. Tighten The Mounting Nuts
To loosen the nuts that connect the kitchen faucet to its base, you’ll need a basin wrench. You can buy one at any plumber’s supply store nearby. Although a bit tricky, you can work without a basin wrench too.
Tighten each loose nut at the basin’s base while holding the loose nuts with the basin wrench. For both faucets, turn these counterclockwise. Always double-check that the loosened nuts are perfectly tightened, or else you will experience the same issue again.
5. Check Whether The Base Is Properly Tightened
Finally, restore the water line and turn on the supply valves to allow water to flow through your faucets. You are finished if there is no water leaks in the faucet.
Conclusion
If you follow the steps outlined above, you won’t have to worry about hiring a plumber and spending money on such a simple task. You may not feel confident at first, but let me assure you that it is very easy to do. I hope this article will help you repair your loose kitchen faucet handle and base whenever the need arises.