How To Tighten A Kitchen Faucet?
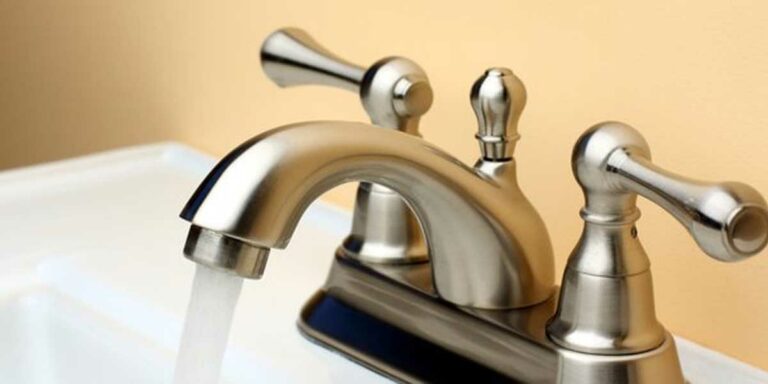
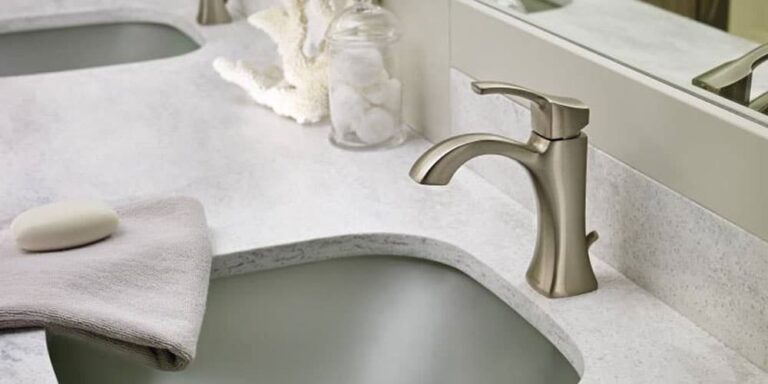
The kitchen is the most used room in any household; after all, the best activity of the day takes place there – cooking! An incredible kitchen sink can give you a decent spot for planning nourishment, washing dishes, cleaning your fruits & vegetables and so forth. As much fun as it could be, cooking food can be quite messy too. And what’s the handiest thing in the kitchen that you could use to clean your hands while you cook? The kitchen faucet, yes!
It’s essential then for it to be an absolute working condition at all times. However, even after using best brands in kitchen faucets they do end up wearing out over time. The most common problem you might encounter is a loose faucet that isn’t able to entirely turn on or off, more often resulting in a leak. This is a common occurrence with inexpensive faucets that feature washers instead of ceramic disc cartridges. Commercial style faucets are mostly immune to leakages. Here we discuss how to tighten kitchen faucet yourself, so you don’t need to spend lots on calling a plumber.
Tightening The Kitchen Faucet Base
All you need to do is work your way through fixing two parts of a kitchen faucet – it’s base and handles – and you’re done. There may be some extra work here and there depending on your faucet type, but this is pretty much all you need to know.
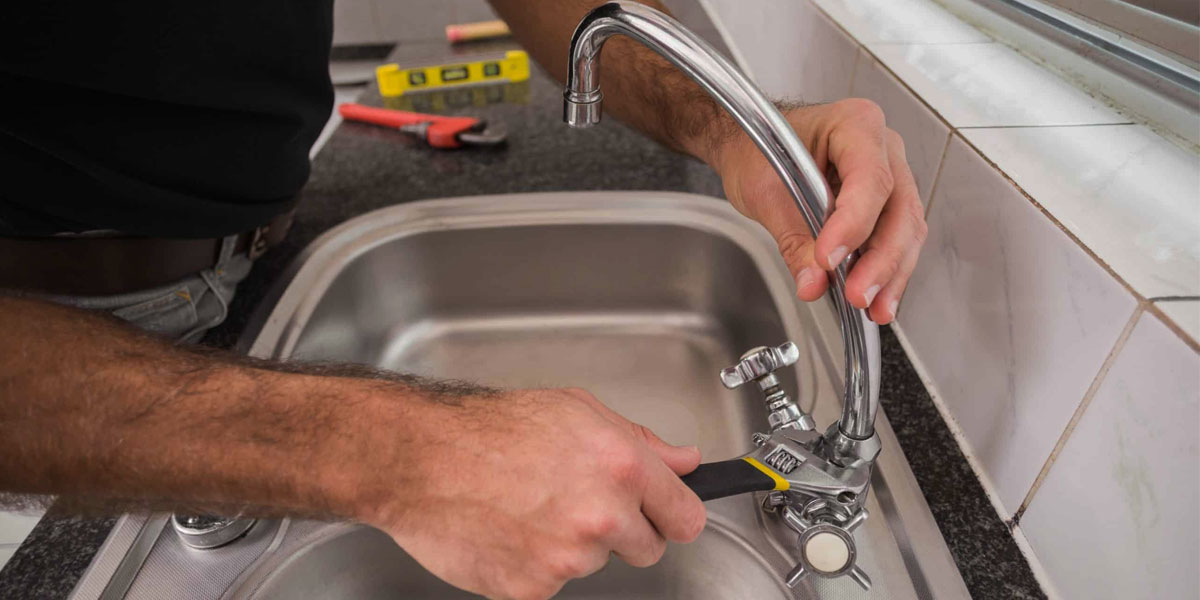
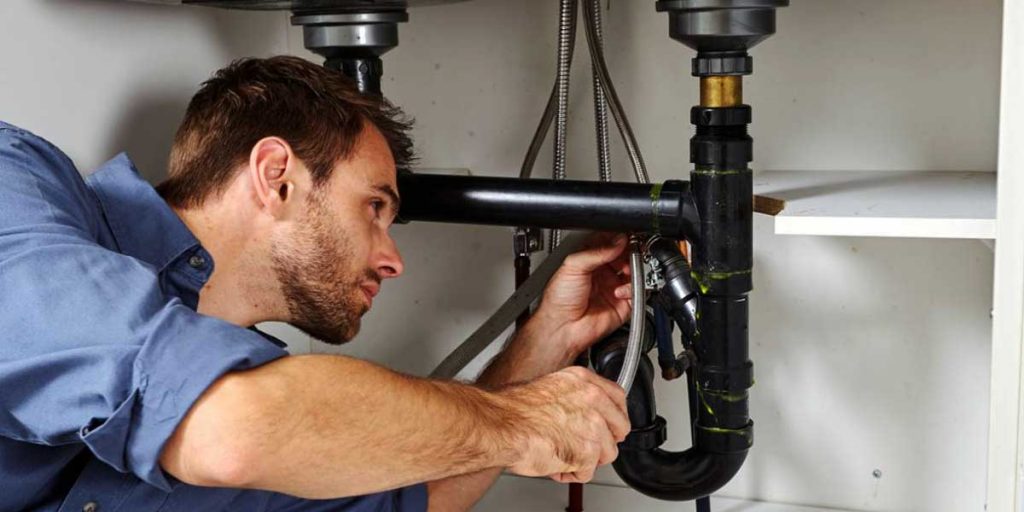
Step 1: You’ll need to remove all objects placed in the kitchen sink cabinet to carefully and effectively gain access to the two supply valves that lie behind the cabinet.
Step 2: Turn each valve in the clockwise direction for turning off the water supply to the faucet.
Step 3: Now slide into the cabinet on your back and point a flashlight to the base of the faucet. Use an adjustable wrench and set it to the size of the water supply hose nut that holds the lines to the inlets of the faucet base.
Step 4: Turn the nuts counter-clockwise with the adjusted wrench and Loosen up and remove both the supply lines.
Step 5: Slide a basin wrench up to one of the nuts that are holding the base to the sink. Turn the nut clockwise using the wrench until you can feel that it’s tightened up. Then tighten the second faucet base nut the same way.
Step 6: Plugin the water lines again.
Tightening The Kitchen Faucet Handle
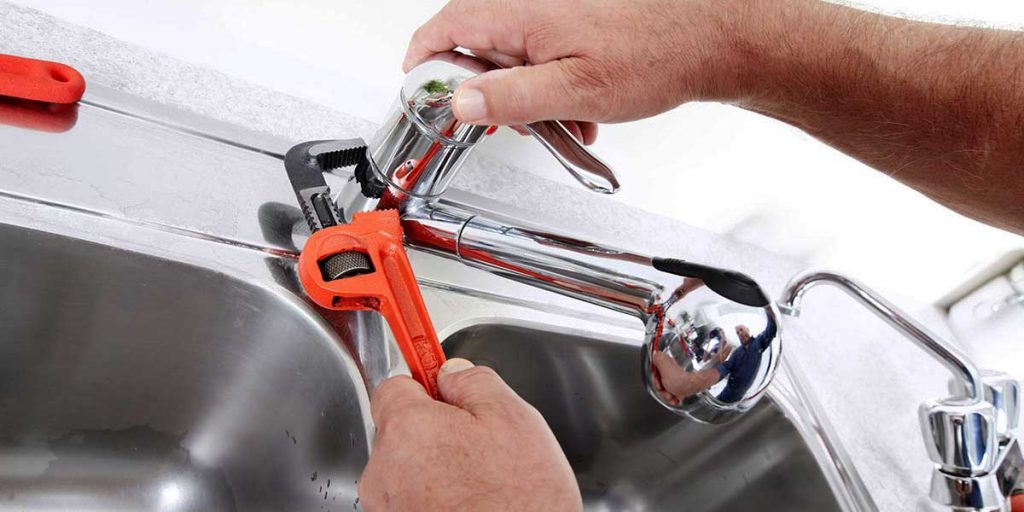
After the base, the faucets handle needs to be looked into too. Here’s how to go about it:
Step 1: Same as above, remove all objects in the sink cabinet, reach into the two supply valves behind, and turn each valve in the clockwise direction to turn off the water supply to the faucet.
Step 2: Look at the handle carefully to find either a setscrew with a recessed hex head at the base of the handle or decorative caps fixed atop the handle.
Step 3: Carefully slide the end of the hex head wrench into the setscrew. Turn it clockwise until it tightens up. In case you aren’t able to access the setscrew in the “Off” position, lift the handle to the “On” position.
Step 4: Similarly, if you aren’t able to find a hex-head setscrew on the handle, take masking tape and affix it on the area around the decorative caps of the faucet handle. Make sure the tape doesn’t overlap the caps’ edges.
Step 5: Carefully slide a flat-head screwdriver under the cap’s edge. Gently lift the lid to remove it from the faucet handle. Tighten the setscrew under the cap clockwise to tighten up the handle.
Step 6: Now push the decorative cap over the opening, remove the cap, tighten up the screw, and in case of two handles atop the faucet, replace the cap. Also, remove the masking tape from the handle top.
Step 7: Turn on the water supply valves to trigger supply to the faucet.
Final Verdict
You can save up a lot of your time and money by following these simple instructions on how to tighten kitchen faucet and prevent any inconvenience working in the kitchen all day long. If after tightening the kitchen faucet still, leakage problem occurs, then you need to replace your old leaky kitchen faucet with a premium kitchen faucet.