How to Remove A Kitchen Faucet Without A Basin Wrench
The way to remove the kitchen faucet without a wrench might seem a facade but what if I say that it is possible? You might have toured the entire web page seeking a basin wrench substitute. But if all you could find was a disappointment- this article is your right destination to find all those bits of information that can make your functioning in the kitchen easier.
To Begin With- Let’s Talk About Kitchen Faucets
It is definitely worth acknowledging that the kitchen is the busiest room in any average household. A greater part of cooking any meal also comprises a lot of rinsing, washing, and cleaning for which having a perfectly working faucet is essential. You might be turning the faucet on and off more than 40 times a day for rinsing vegetables or cleaning the fruits and utensils- without even realizing it. The kitchen sink and faucet, therefore, demand more attention, maintenance, and immediate repair if dysfunctional.
If you are a person who gets most of the fixings and repairs are done by yourself- you must possess a box of all the necessary simple to complex tools from a screwdriver to a wrench. But in case you don’t have a basic wrench- but still wish to fix your faucet by yourself- don’t worry! We have got your back.
What is a Wrench?
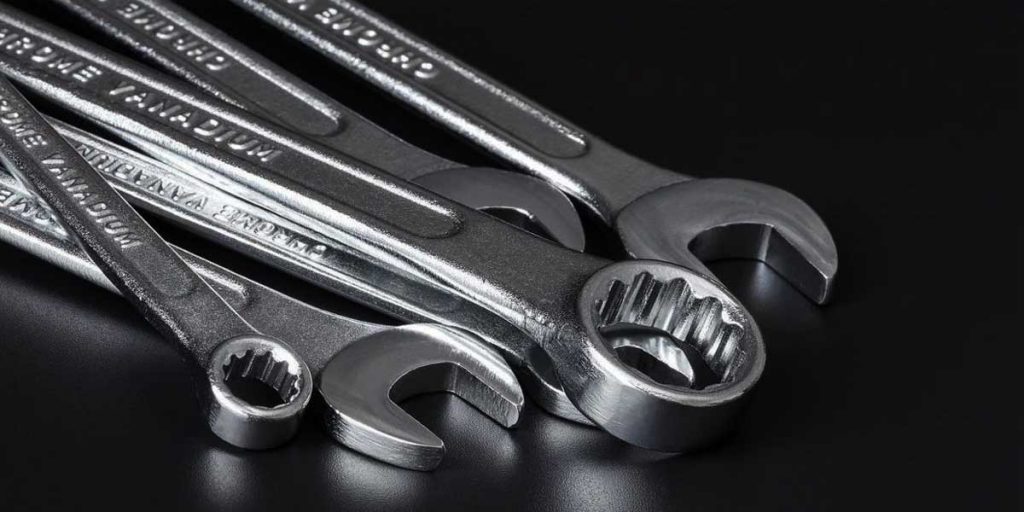
Also known as Sink Wrench, a basin wrench is a plumbing tool that makes faucet removal a piece of cake to walk through. Oh no! Don’t get me wrong here. Removing a faucet or installing one is not that easy or hassle-free a job but certainly, forging a familiarity with a wrench can make the task a lot easier for anybody. The pivoting head of the wrench reaches the inaccessible and tough places such as behind the sink from underneath to loosen the nuts that hold the faucets or those that connect the supply tube to the faucet tail.
The wrench has a pair of spring-loaded asymmetric jaws on one end of a long metal shaft and a transversal handle on the other end. The head twirls by 180 degrees in either direction to hold and loosen or fix nuts. The tool might look simple but takes quite some practice to be of use.
How To Remove A Faucet Without Using A Basin Wrench
Step 1: Turn The Valve OFF
A general rule of plumbing entails that you first turn the water source off before dismounting any tap or faucet, or water-ware pipes. It saves you a flood in the kitchen and of course the following clean up. Skipping this primary step is an open invitation to hassle and more work in removing the kitchen faucet without a basin wrench.
To prevent any accidental overflow or mess, arrange a medium-sized bucket below the faucet or the sink to collect any water that may accidentally come out. Also, remember to turn both the hot and cold water sources off. You can find the valves at the bottom of the sink in case you’re uncertain.
Step 2: Release The Air In The Valve
As you disconnect the faucet from the water source, the valves would be filled with atmospheric pressure. This pressure may impede your work and may make the dismounting process strenuous. Therefore it is advisable to release the air bubbles from the faucets. To release the pressure by opening the faucet up. Turn the faucet on- without the water source and leave it for a couple of minutes. Keeping the faucet closed may create a suction pull that would make removal more difficult. After about 2-3 minutes, the valves should release the pressure, making it much convenient to pull.
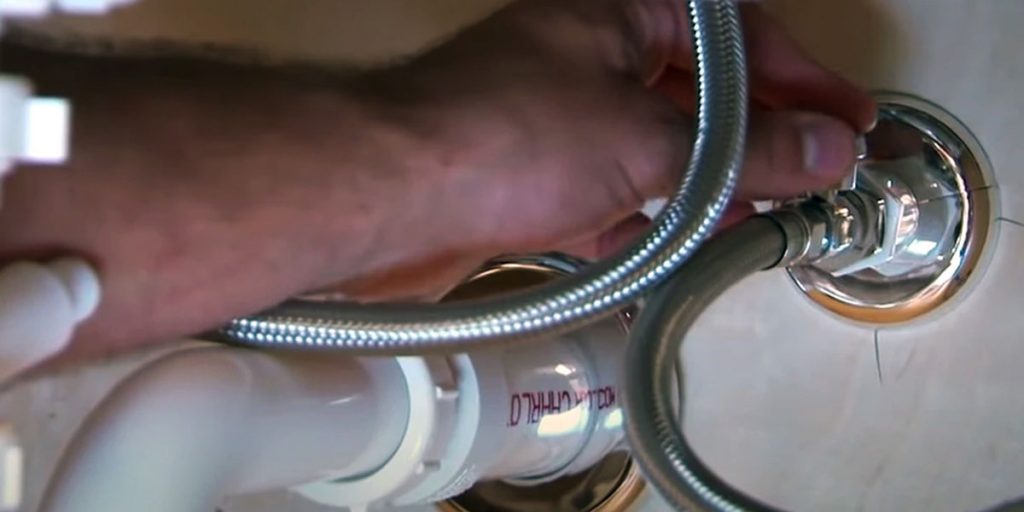
Step 3: Remove The Water Line
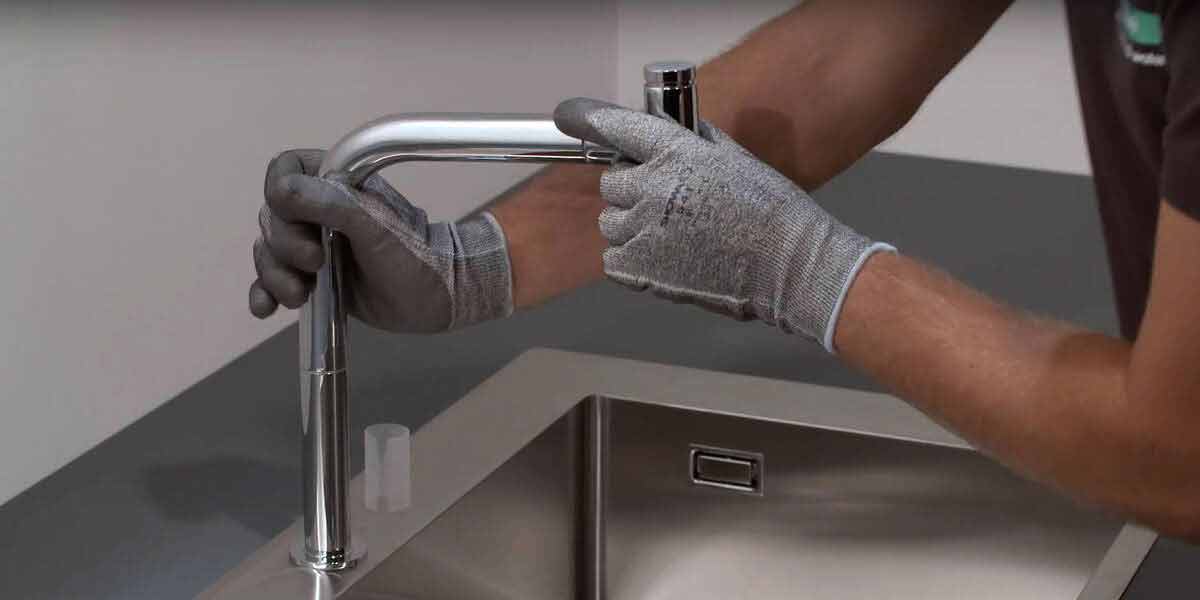
This is where we are getting into the actual skin of the issue. Comparatively- the first two steps were just the preface to this real work- stick by us as we guide you through the process in the simplest of words. Get hold of the channel lock pliers or the water pump pliers to disassociate the water line from your kitchen faucet.
You may use other tools that provide the same function as the pump pliers would despite differing mechanics. Using a tool makes the work easier- just don’t get your bare hands on it. Fasten the pliers around the waterline gently. Pull each line off with patience and careful handling. You need to maintain caution so as not to damage any part of the faucet and waterline.
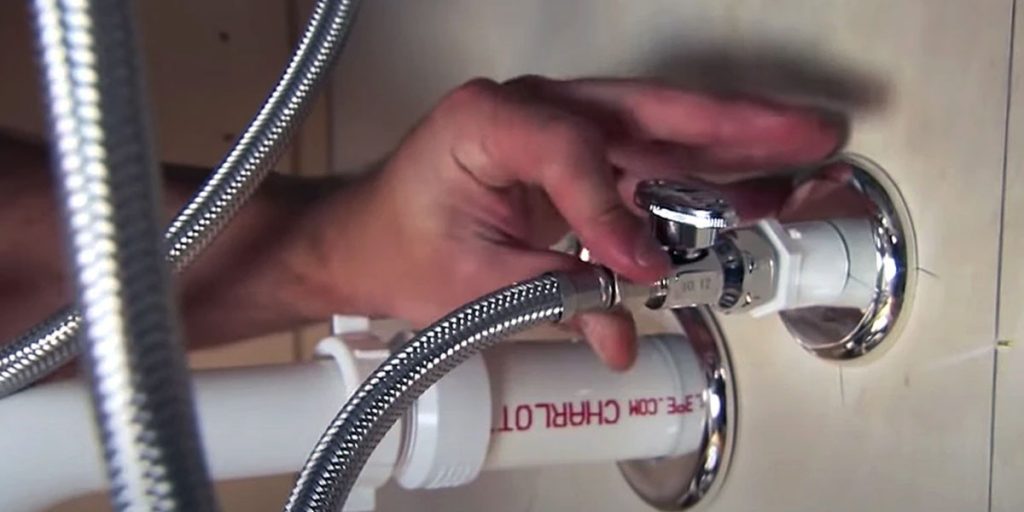
Step 4: Get The Nuts And Screws Out
Removing the nuts and screws need caution as well, careless handling of the tools may either lead you to injuries or make you lose those pins into the sink or elsewhere. After the waterline has been disconnected, proceed to remove the nuts and screws that hold the faucet together. The location of these varies depending on the design of your faucet. Just identify the points which hold the faucet to its base.
For screws- use the screwdriver but for nuts- go for a socket wrench. Attach the tool and rotate anti-clockwise. As you loosen the mounting pins, the faucet can easily detach itself. If the bolts are jammed or tough to rotate, use some grease to release the friction at the joints. This is what you’ve come for- what to do if you don’t have a basin wrench to reach underneath the sink and loosen the nuts that mount the faucet: well here are a few alternatives to a basin wrench:
1. Duct Tape
Yeah, this might seem stupid but it’s not! Duct Tape can be highly useful in loosening the bolts. Before adding any grease or oil to the nuts and bolts, tear about a 12 inches long section off the duct tape and wrap it around the connecting nuts. To ensure that the duct tapes are firm enough, you can cut two strips- 12 inches long each and stick the sticky side of strip 1 to the non-sticky side of strip 2. While you wind the duct tape around the nut, leave about 6 inches to 7 inches of the tail of the duct tape to be able to pull it off in the anti-clockwise direction. There you have the nuts loosened! Thank the duct tape first and then me.
2. Two Coins
Have some odd changes in the pocket? You can replace a basin wrench with it. Just put them on the side of the nut and hold the two coins between the index finger and the middle fingers’ knuckles to ensure a grip. Twist it and loosen the nut. The video below demonstrates these methods pretty accurately. Please have a look for better comprehension.
Step 5: Dismount The Hose
Store the nuts in a secure place as you would need them to fit the replacement for the kitchen faucet. Disconnect the hose or the stem of the faucet from the basin or the base and inspect it to identify the trouble. If you’re going to reuse it- get it inspected and repaired.
We are done, guys!
Related: How to Tighten a Kitchen Faucet
Conclusion
By now you must have realized that you don’t need fancy equipment for removing a faucet. Just ensure that your faucet replacement is right by your side as you uninstall the old one. You also need a few basic pieces of stuff as discussed above. We hope the article was useful!