How To Install Garbage Disposal For The First Time

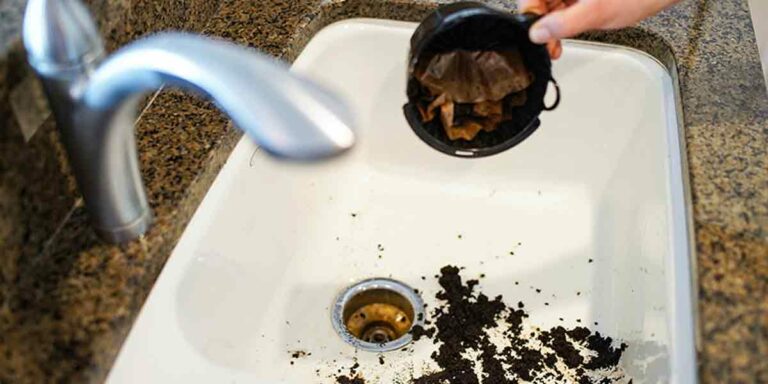
Garbage disposals, true to their name, help you dispose of garbage. More precisely, the waste produced in the kitchen. This resourceful appliance fits beneath the sink and takes care of all countertop waste, peels, and prep discards, mulching them down finely before releasing them in the sewer line. Owing to the convenience they provide, garbage disposals have become integral in modern domestic kitchens. However, installing and toubleshooting them can be one tricky job.
If you’re someone who enjoys a little DIY project here and there, installing a garbage disposal for the first time can make for a good project. With a few tools at your disposal and a little plumbing knowledge, you’ll be able to install a garbage disposal for the first time, all by yourself. This guide would also come in handy if you’re wondering how to change out a garbage disposal, if you’re looking to replace your existing unit. This article will show you how to install a garbage disposal for the first time or how to change out a garbage disposal altogether. Get your toolbox ready and closely follow the below instructions –
Tools And Material Required
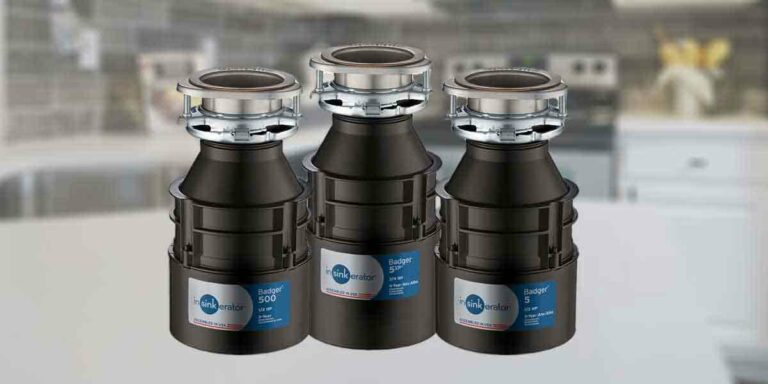
- A new Garbage Disposal
- Garbage disposal mounting rings and drains fittings.
- Plumber’s putty
- Screwdriver
- Hammer
- Hacksaw
- Garbage disposal power cord
- Extension pieces for drain pipes
- Pliers
How To Install A Garbage Disposal For the First Time
Garbage Disposals can be a bit sophisticated to install. But you don’t need to panic just because the machine appears to be intimidating. Simply follow the steps below, and you’ll be fine.
1. Prepare The Disposal
Take the garbage disposal out of the packaging. Start the installation by turning off the power at the circuit breaker. Before you begin, loosen the mounting assembly screws evenly on all of them. You must remove the snap ring, separate all fittings, and keep them all to one side. You will find the installation instructions for identifying disposal parts and wiring colors in the owner’s manual. Connect the same color wires.
2. Insert The Drain Flange
Clean the sink area around the drain opening. Many garbage disposals will involve the installation of a new sink drain flange. Roll the plumber’s putty with both your hands to form a rope, then wrap it around the drain flange’s underside. Insert the flange into the drain hole from above the sink and press down evenly. It’s normal to see a plumber’s putty seeping out, which is a good sign. Finish this step by trimming the excess putty and then clean it with a rag to remove it.
3. Installing The Mounting Ring
Next, we must install the fibre gasket, backup flange, mounting ring, and metal clip in this step. First, roll the plumber patty between your hands to form a rope about half an inch thick and about 10 inches long. Then, apply it to the underside of the sink’s drain flange. Insert the flange into the drain hole and press it down to secure it. Then attach the fiber gasket, backup ring, and mounting ring. When working beneath the sink, use the screwdriver to tighten the mounting ring against the sink.
Tighten the screws that hold the upper mounting ring in place. You can speed up the process by screwing one screw and then switching to the other, ensuring that the mounting rings are evenly tight. Tighten the mounting screws until the drain extension is securely placed beneath the sink and the putty is perfectly gummed. After that, trim the plumber’s patty with a knife that may have escaped from the flange. Before proceeding, double-check that the drain flange fitting has not moved. If it moves, go back under and tighten the screws once more.
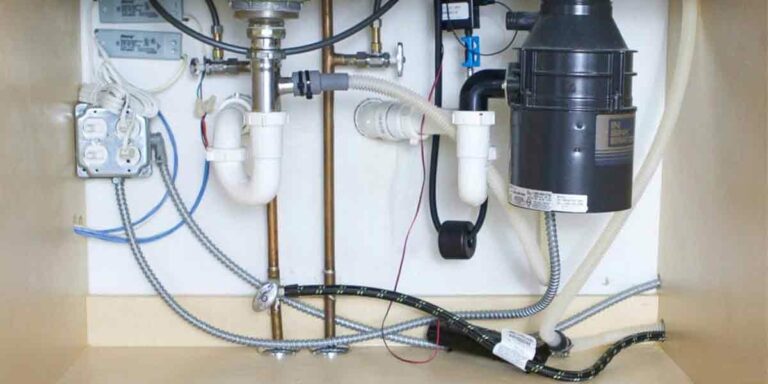
4. Installing The Garbage Disposal
Now, use the loops on the top of the garbage disposal to secure the mounting ring. Raise the garbage disposal and insert the coils through the mounting rings. The garbage disposal will become locked if you spin it with your finger. Check that the drainpipe is pointing in the direction of the drain outlet connection. You’ll find a key in the box to help you tighten it. Tighten it as much as you can until it is completely loose.
5. Connect The Power Cord
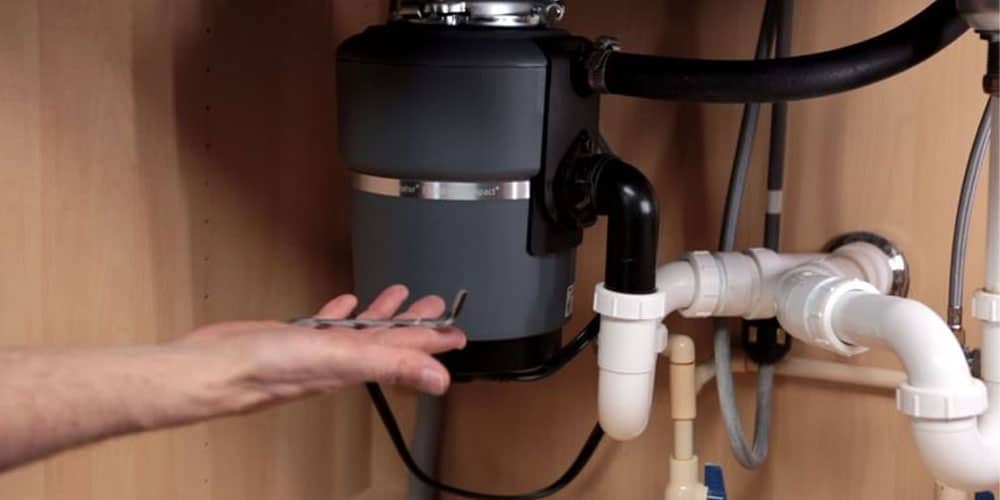
Some garbage disposal devices include power cords. And if it’s not included in your one, turn it upside down, remove the plate beneath the device, and connect the wires to the power cord. Remove the wires after removing the plates. Insert the clamp into the fitting adjacent to the metal plate. Loosen the clamp screws enough to allow the pigtail to be slid into place and wired to the garbage disposal. Now, using wire strippers, strip the wires down. Attach the same color wires with wire nuts, and make sure that none of the fine threads on the wires protrude, as this could cause a short-circuit. Close the lid and tighten the screws.
6. Attaching Drain Pipe Connection
Attach the rubber discharge tube to the disposal unit using the gasket and screws. Turn the disposal so that the discharge tube aligns with the waste trap in the sink drain. Connect the dishwasher line after you’ve connected the drain line. Insert the dishwater hose into the disposal nipple and secure it with the manufacturer’s clamp.
7. Connect Outlet To P-Trap
Measure the drainage tube and, if necessary, cut it to length with a hacksaw or tubing cutters. Attach the discharge tube or the P-Trap to the garbage disposal outlet using the included gasket.
8. Test For Leaks
Make a few final checks to ensure everything is in working order before you start using your new garbage disposal. Before going to the store to buy a New Garbage disposal, inspect all pipes under your sink for any signs of leakage. Also, run the disposal motor to ensure that the entire operation is working properly.
How To Remove A Garbage Disposal
Having learned how to install a garbage disposal for the first time, you should also know how to remove a garbage disposal if there’s ever a need to replace your unit. Be it for any reason — whether for cleaning, fixing a leakage, unclogging, or fixing the infamous rattling noise — you must first disconnect the power to it. Locate and turn off the switch in your breaker box that is connected to your disposal. After you’ve turned off the power, unplug the drain pipe from the disposal. Place a bucket beneath the pipe to catch any remaining water. To loosen the fitting around it, use pliers or a wrench.
After removing the fitting, pull the pipe with your hand. After you’ve disconnected the drainpipe, it’s time to remove the garbage disposal completely. The garbage disposal will have a mounting ring located directly beneath the sink’s drain hole. Insert your disposal wrench tool into one of the mounting ring’s loops and turn it to the left until the disposal is loose enough to remove by hand.
You may need to use some force to get it out. You can also increase your leverage by holding on to the mounting bracket with your other hand. When the disposal has become loose enough, turn it with your hand to remove it. Place the new garbage disposal on the mounting ring, then turn the ring clockwise until it clicks into place and the garbage disposal is secured.
Note: There may be many reasons as to why you need to remove your garbage disposal in the first place, some avoidable some not. Here are some roundups of garbage disposal do’s and don’ts you might want to take care to ensure your unit’s longevity.
- How to Sharpen Garbage Disposal Blades: Do’s and Don’ts
- What Not To Put In A Garbage Disposal
- How to Remove Broken Glass in Garbage Disposal
Conclusion
Garbage disposal installation is a simple process, especially if all steps are followed, and all garbage disposal parts are in working order. It will help your kitchen look its best as long as you use the garbage disposal to dispose of the recommended types of waste. Also, remember to use caution while handling an electrical appliance. Do not allow the cords to come into contact with water. Lastly, I hope this article will help you in completing your work.