How To Fix A Cracked Granite Sink
A granite sink changes the overall look of your kitchen by adding a flow of elegance to the space that you spend so much time in, the kitchen if maintained and cleaned regularly. They are appreciated because of their durability, which is much more than stainless steel or porcelain. But the only downside to granite sinks is that over time, they can develop cracks. The cracks might be a result of installation or transportation. Another possibility might be someone dropped something sharp and heavy and chipped a part of it. However, to your luck, there is an easy method to fix a cracked granite sink. The article describes the steps you are required to follow in order to repair cracked granite.
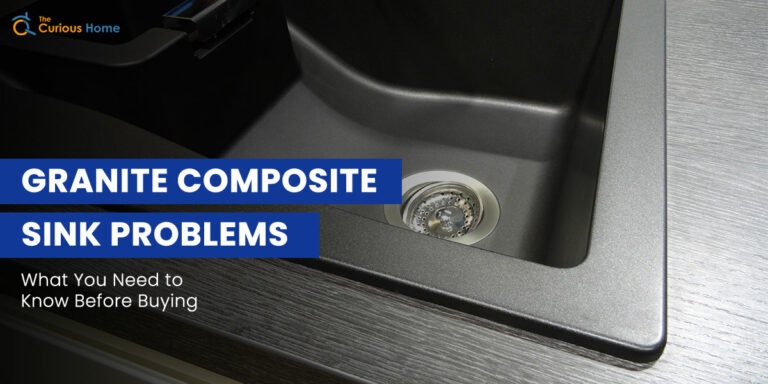
How To Confirm A Crack In Your Granite Composite Sink?
In order to repair the crack, one has to first detect whether it is a crack, chip, or fissure. These 3 terms are three different types of damages that can occur within your granite sink. You have to know the differences these three possess to know what step to take for each one.
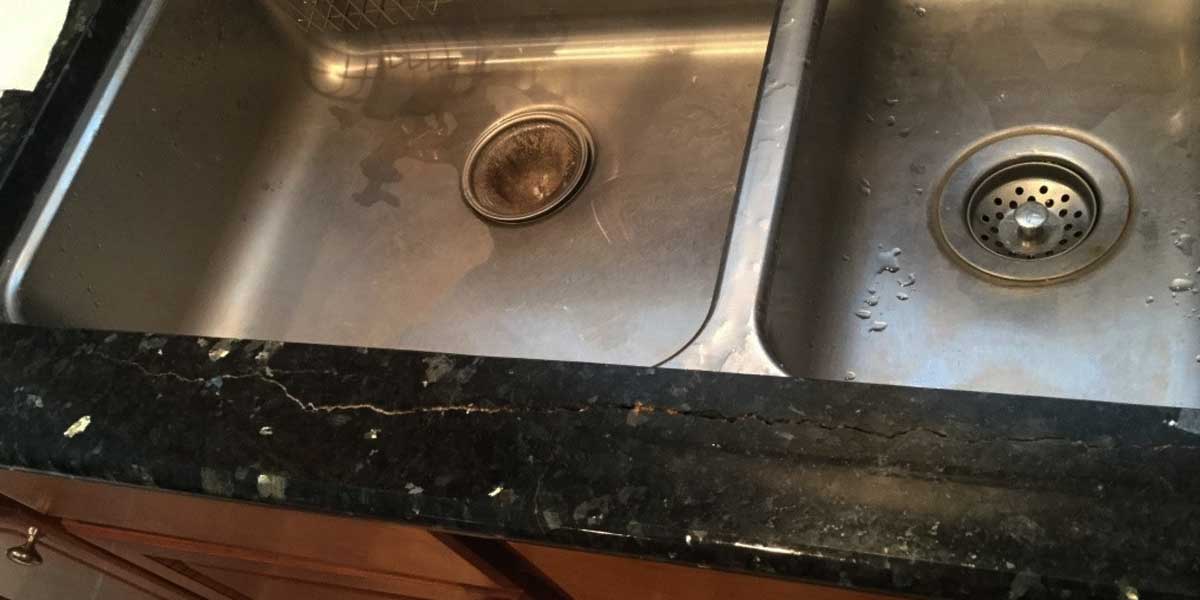
A crack can be identified as a line of a tear running deep into the marble, stone, or concrete. You will find cracks mostly on the granite areas nearer to the sink or cooktop. One of the explanations for these tears is the thinning of these parts during the installation process. A crack can be either Hairline or a separated one. A hairline crack tends to appear with much ease. However, it does not interfere with the integrity of the sink and does not usually require fixing. But a separated crack needs to be repaired as soon as you encounter one.
When it comes to fissures, it is identifiable by a long narrow opening on the granite surface. Although it does not run deep into the surface, it may lead to a crack or a chip if left unattended. The slightest pressure on the granite composite sink can lead to the creation of a fissure. This pressure may come from a knock during transport.
Coming to chips, it is a small break or cut from the granite material. It occurs majorly at the edge of the sink and may affect the durability of the granite.
Steps To Fix A Cracked Granite Sink
Before carrying out the repairing process, you must make sure to get yourself equipped with the following materials:
- Epoxy filler of a color that merges with your sink
- Plastic spatula
- Cleaning materials such as cloth, sponge, and scouring powder
- Newspapers and tape
- Warm and cold water
- Protective gloves and goggles
- 400-grit sandpaper to 3000-grit sandpaper
- Buffing wheels with wet and dry pads
Now, let us have a look at the steps you would need to follow to fix a crack in granite:
1. Clean the Sink
Start with first cleaning your kitchen thoroughly as it is important for the epoxy to set properly. Cleaning the sink will ensure the removal of all the surface scratches that may have formed. You can clean your kitchen sink by following these simple steps:
- Run hot water around the sink and pour scouring powder into the sink. Leave it undisturbed for a minute.
- Take a towel and dampen it with warm water. Wipe the sink’s surface with this damped towel.
- You can also use a soft scrubbing brush if certain spots are giving you a hard time getting removed.
- Utilize the scrubbing brush to firmly press it over the spots and then rinse the sink properly.
- Dry the sink with a clean, dry cloth.
2. Prepare the Sink
After the process of cleaning and drying, you need to detect the site of a crack on your sink. The purpose of the preparation of the sink is to make sure that you do not get any epoxy on the rest of the sink while applying it. It is advisable to stick a painter’s tape on all the edges encircling the crack. Remember not to cover the crack with tape. You can also use a newspaper in case you do not have painter’s tape. The primary idea is to get as little of the epoxy on the rest of the sink as possible. You can proceed to mix up the epoxy filler once you are done preparing the granite sink.
3. Apply the Epoxy
Get an epoxy from the store that is appropriate for granite or stone repair. The seller will give you the right thing if you ask for granite sink repair epoxy. This step requires you to fill the cracks of your granite sink with epoxy. Though it tends to be a time-taking and tedious process, it should not take more than a couple of minutes if you get the trick at once.
To fill larger cracks:
- Fill the crack by smearing epoxy over it with the help of a spatula or the tool you used at the time of mixing the epoxy.
- Utilize the spatula to press the epoxy firmly into the crack.
- Add epoxy according to the requirement and try to smoothen it for the best results.
Even if you don’t, any bump or uneven patter around the surface area would be sandpapered anyway.
To fill smaller cracks:
- This process is quite similar to the one discussed above.
- You just have to be extremely careful while applying the epoxy.
- Take your time to apply the epoxy over the crack and try avoiding smearing everything at once. That would lead to having too much extra epoxy.
4. Allow the Epoxy to Dry
You can now remove the painter’s tape/newspaper and leave the epoxy for drying out. The drying will take somewhat around 24 hours. However, the drying depends on the brand of the epoxy applied.
5. Smoothen the Surface of the Sink
After the epoxy gets dried, use sandpaper to smoothen out the sink’s surface to get a polished look.
6. Clean and Buff the Area
After you are done with the polishing part, you can then wash the sink again before buffing it up and making it look all shiny. For buffing, use a wet buffing pad to gently move through and scrub the surface of the sink. This will give your sink a brand-new look.
Measures To Avoid Cracks In Composite Granite Sinks
Even though your granite sink is hardwearing and sturdy, it still requires good maintenance regularly.
- Be extra cautious while the transportation as the products may undergo stress that will lead to the occurrence of cracks in them. Good packaging can help avoid this situation.
- Do not put hot pots or containers on your sink as it creates a hairline crack if you do it too often.
- Avoid placing too many things on your kitchen sink, as keeping many things on a granite sink for a long time produces stress. This also negatively impacts the sink’s strength due to the uneven spread of pressure, ultimately leading to cracks after a while.
- Avoid the temptation of stepping on the sink top to prevent fissures.
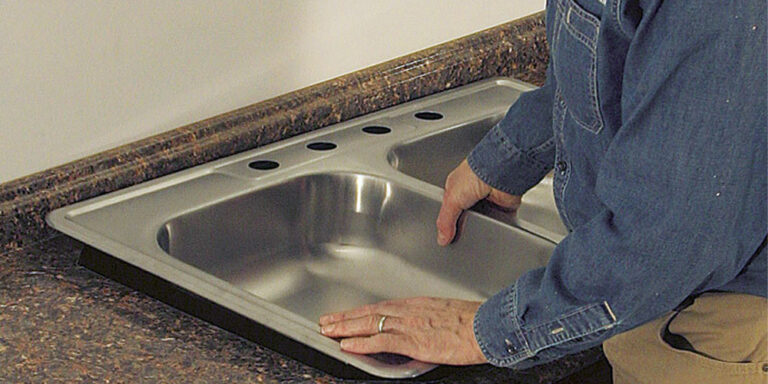
- The installation process is not an easy one as the sinks are bulky and would need an extra hand for installation. The sink may crack due to excess pressure if the help is not handy. So, it would be best if you just call a professional for the installation of your sink.
- Abrasive cleaning tools or solutions are a huge NO. Instead of abrasive cleaning tools or solutions, you are free to utilize special cleaning products that are specifically meant for sink cleaning purposes. Always remember to dry your sink with a clean, dry cloth after you are done with the cleaning.
- Everything comes down to regular cleaning. Making a habit of cleaning your sink regularly will save you a lot of work in the long run. You can use soap solution and sponge for cleaning purposes.
Final Words
Repairing your granite crack is such a cinch. You absolutely do not need to throw away your sink only because it has gotten some cracks. Apart from stains, the biggest concern regarding granite sinks is crack, be it smaller or larger. However, both of them can be repaired by following the steps mentioned above. The best part is you can just DIY!!! But it is recommended to clean your sinks on a regular basis with soap and a sponge. You should also not allow water to pool in the cracks if they develop at all. Maintenance is key, folks.