How To Install Undermount Sink On Granite Countertop | Kitchen Sink Installation Guide
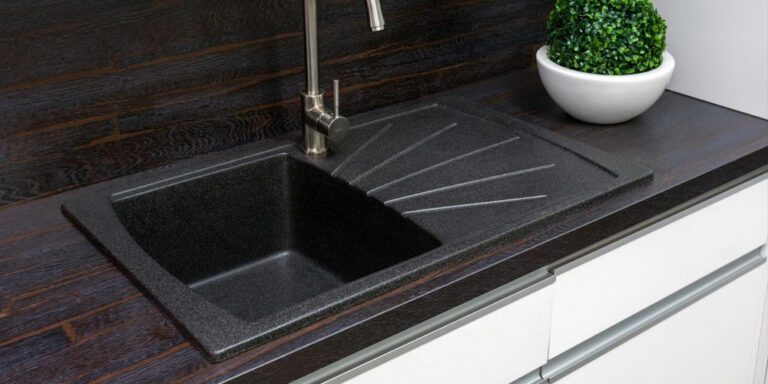
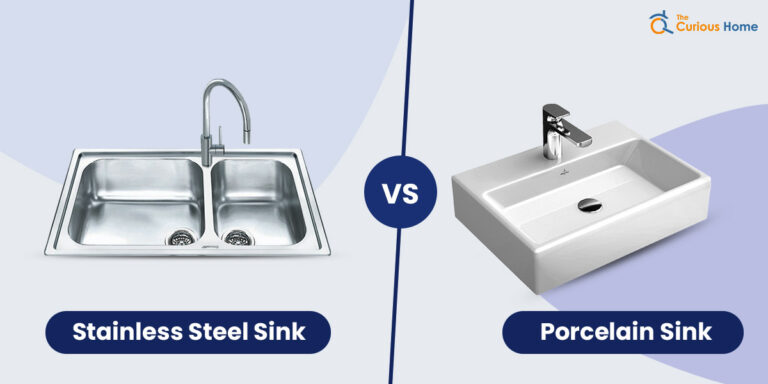
Granite kitchen countertops are often referred to be the gold standard by homeowners and kitchen designers, and so is granite kitchen sink over stainless sinks preferred by granite kitchen countertop owners.
When it’s time to upgrade, many homeowners choose granite, the most popular type of natural stone countertop material. Even the sharpest blades won’t scratch it, and a boiling kettle won’t damage it.
We all know that good quality granite kitchen sinks can be pricey, but what if we told you that installing your own granite kitchen sink was not only a possibility but also a fantastic method to save money and get the sturdy, opulent kitchen of your dreams? You should consider a few important things while organizing a do-it-yourself granite installation.
Tools And Materials Needed
- seam setter
- 4′ level
- angle grinder with a diamond blade
- caulk gun
- acrylic caulk
- shims
- painter’s tape
- measuring tape
- two-part epoxy for nonporous applications
- cardboard or similar material for the template (optional)
- proper protective equipment
- utility knife
- jab saw
- pencil
- granite sealer
- granite cleaner
- soft cloth
Preparing The Countertop

A surface that is clean and free of dust is essential for ensuring that the epoxy bonds well with the stone countertop. The majority of undermount sink installations use epoxy to hold the clips, so having a surface that is clean and free of dust is essential.
Even if you choose to cut grooves that will have a clip secured into them with a screw, you will still need to clean the area where the silicone caulk will form the watertight seal between the sink and the counter. This is because the clip will be held into the grooves with the screw.
If you want to make sure that your workspace is clear of dust as easily as possible, you should start by using a dry cloth to wipe down the areas around the precut hole and then switch to using a moist cloth to finish the job. This will guarantee that any dust and filth have been eliminated and that your countertop is now prepared to receive the silicone and epoxy that will be applied.
Installing The Sink
The following step is going to depend on whether you want to install the sink after the countertop has been put in place or whether you want to attach the sink to the countertop first and then install both of those components at the same time.
When it comes to installing once the countertop has been completed, a lot of it depends on the size of the cabinets that are located under the sink.
In many installations, you will need to lower the sink into place before installing the countertop, but in others, you may be able to sneak the sink in through one of the cabinet doors. In most circumstances, you will need to lower the sink into place before installing the countertop.
If you choose to pre-install the sink, you won’t need clamps to secure it in place because it will already be in place when you start the installation process. It won’t make much of a difference when you decide to attach the sink because the procedure will be essentially the same either way.
Connecting The Plumbing
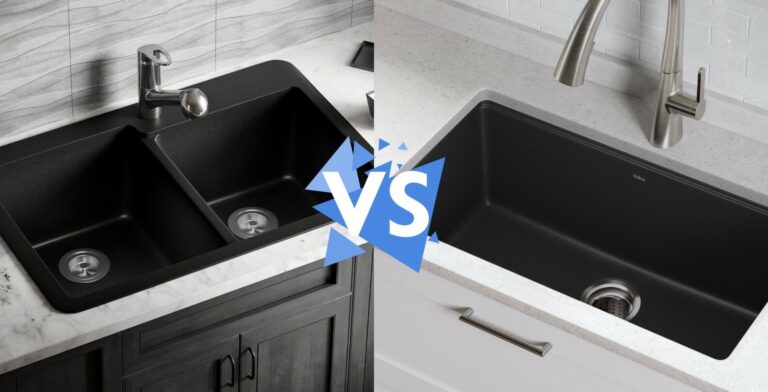
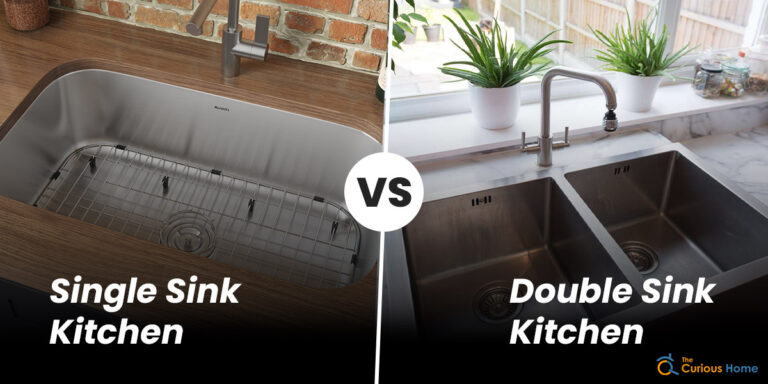
After the countertop is installed, we’ll install the undermount sink, which is more complicated and takes more steps. Depending on whether your sink is a double or single bowl, you’ll need a 2×4 longer than the sink cutout and one or two clamps.
Lay the 2×4 across the cutout once the sink is in the cabinet below the countertop cutout. Then bring the sink up to the cutout from underneath and secure it with the clamps by attaching one end underneath the drain hole(s) and one to the 2×4.
The only reveal you should choose is the flush mount reveal, where the sink edge matches the counter cutout. A negative expose will crack your countertop when you lift a pan out of the sink, whereas a positive reveal will generate extra locations to clean. Life and cleaning are easier with a flush mount or neutral reveal.
After clamping the sink, check for a snug fit. Lower the sink enough to caulk the rim once you’re satisfied. Lock the clamps, crank the sink, flush against the countertop, and let the caulk dry.
Final Touches
After the silicone dries, apply the metal clamps to keep the sink in place. Two-part epoxy and clamps with several mount holes are needed for this.
Apply epoxy around the sink’s corners and press the metal mount into it, so it seeps through the holes. Lock the mounts over the sink’s edges. After the epoxy dries, you can use your undermount sink. Remember, it takes 24 hours for all the compounds to set. Don’t use water on epoxy or silicone until 24 hours later.
Undermount sinks can last a lifetime if correctly installed, so don’t let impatience harm your sink and cabinets. Clean and preserve your new countertops with granite and quartz cleaning, available at most fabrication shops. This unique cleaning will keep granite countertops glossy and new for years.
Conclusion
You should know a few things before installing an undermount sink. First, give your countertop fabricator the manufacturer’s specs of your new sink. If you’re installing natural stone countertops, you shouldn’t cut the sinkhole yourself.
Before having your countertops cut and installed, choose your sink. This will give you time to give the stone fabricator the sink specs, which will result in a precut slab for your undermount sink.
You can DIY or pay a contractor to anchor the undermount sink to the slab. Hiring a contractor is beneficial since they have likely installed an undermount sink to a precut stone slab dozens to hundreds of times. This project requires precision to avoid leaks and sinks in cabinets.